SCRATCH TRACKS
When Fishy animator Guillermo Gomez first joined the project, one of the first things he said to do was create a scratch track of the song with all the dialogue. What is a scratch track? It’s a rough recording of the film song and dialogue. The goal of a scratch track is get the pacing of the animation nailed down. How many seconds does your song allow for each shot? Some shots are shorter while others need more time. Skip this step and it would be easy to create too much action for a simple, short song. Or the animation could become frenetic and end up looking like one of those silent films with a bunch of keystone cops racing around at hyper speed. Or you could waste a whole bunch of time drawing all these images that can’t fit into the song’s timeline.

A scratch track does not have to be recorded by the actors themselves. In my case, the first scratch track was recorded on my zoom in my living room with a hodge-podge of friends, neighbors, and Scarycow (a film cooperative) members. This original recording of “The Fishy’s Tale” was 3 minutes and 46 seconds long.
THE STORYBOARD
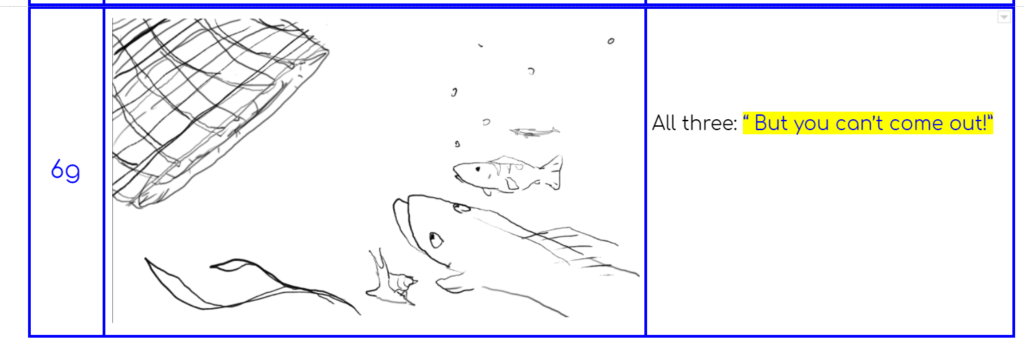
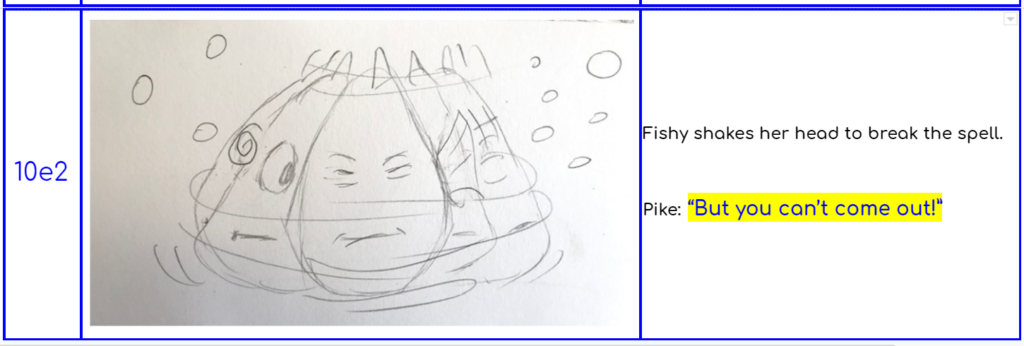
All films begin their journey as a humble storyboard. Film is a visual medium and you need to get out of the script and start crafting the images you will use to tell your story. Think of a storyboard as a cartoon version of your film. It can be as simple or as sophisticated as you like. Artist and Filmmaker Van Dyke Roth drew the first simple storyboard: one image for each beat of action. ( Later on, we developed the storyboard, so that it had an image for every shot in the film.)Then he edited the images together with the scratch track, so that we had a simple “film” version of our story.


AUDITIONING CAST
Several months later, I auditioned about 10 people over the phone for the Fishy cast. Before the audition, I sent each actor the scratch track, lyrics, and sides, so they could familiarize themselves with the characters and practice the song. ( Sides are pages of script that the actor will read for the audition.) Some actors were very good at character voice-over while others were excellent singers. I quickly learned that I needed voice-over actors who could do both. Once I figured that out, the audition process got smoother. First, the actor sang the song a cappella. This step demonstrated their ability to sing on pitch. Next, the actor read the dialogue bits from the script without direction. This allows actors a chance to showcase their acting skills. Then, I would give them a couple of directions to see how well they could apply direction. Last, but not least, I asked them to try a completely different interpretation of the character see how versatile and creative they could be. The audition usually closes with a brief discussion of expectations and potential scheduling conflicts.
Honestly, the hardest part of the auditioning process was turning talented actors down because they were the wrong voice type for the character or weren’t strong enough singers to sing the harmony. The final consideration was how the voices balanced as an ensemble. In this case, we needed a tenor for Snail and a baritone or bass for Pike. If the voice types were too similar, it would be harder to tell them apart.
THE RECORDING SESSION
Once we had our small cast chosen, we organized a recording session. Scarycow member Wayne Cheng set up an impressive sound booth studio in his family’s living room; they were away on vacation, so we had the place to ourselves. We set up lunch and snacks in the kitchen and followed a tight schedule for the order of recording. The day began with vocal warm ups. After that we recorded the song. Next, singers were recorded singing the song individually. Finally, each actor got time to record their bits of dialogue multiple times. Altogether, we spent a solid 6 hours recording the song and the dialogue. We did about 12 recordings of Pike’s dialogue: “Stay Back!”
Several weeks afterwards, Wayne and I worked to together to select the right tracks for the final song mix and the best dialogue versions. Eventually, original music, and additional sound effects will be added. It was a privilege and a thrill to work with so many talented actors and crew. Setting up a sound booth is time consuming, so try to get to all your recording done in one setting.
We managed to complete about 85% of our recording with Wayne that day. However, I had to go back three months later to do a guerilla-style recording session with a friend’s 10-year-old daughter Avani. With Avani’s help, we added some nonverbal sounds and exclamations as well as a wee bit of dialogue for Fishy. While my little H2 Zoom recorder did a heroic job, the room tone was different, so Avani’s audio had a different sound quality than the other recordings. Room tone consists of all the “natural” sounds present in the room in which you are recording. It’s literally “the sound of silence.” It includes any background sounds such as the street noise below or the hum of the refrigerator in the kitchen. Room tone is also affected by the materials in the room and how sound is bounced or absorbed. Imagine how footsteps ring and echo in a gothic cathedral versus a small bedroom with wall to wall carpeting. In our case, we will either have to work a little post audio engineering magic or else re-record Avani’s voiceover later on. Ah, lessons learned!
Recording the sound and dialogue with talented voice-over actors and skilled crew brought our little film to life. It was a thrilling milestone in our upstart production. Little did I know, the adventure was just beginning….

Thanks for the post!
Thanks for excellent info I was looking for this info for my mission.